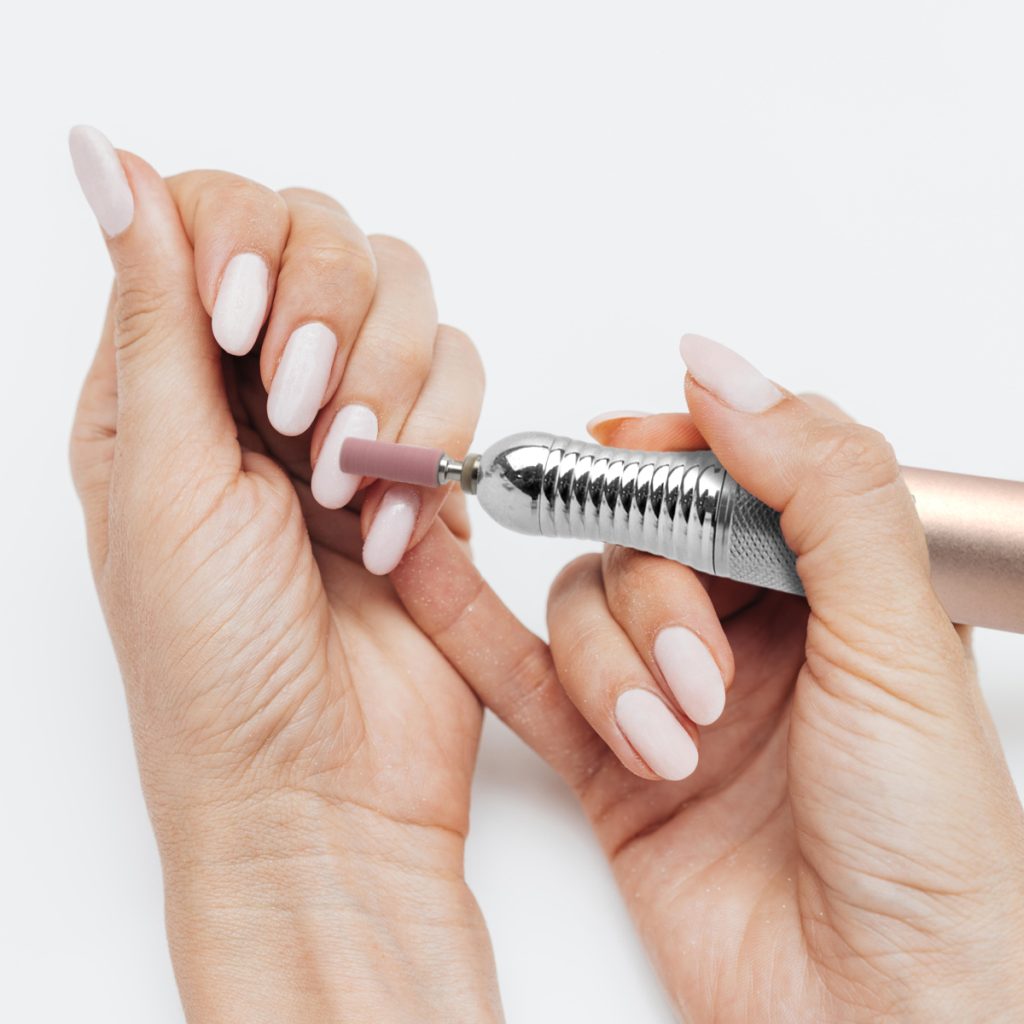
Achieving flawless nail enhancements or a perfect natural nail finish hinges on proper preparation and shaping. This is where your nail drill and, crucially, the bits you choose, become indispensable. Understanding the different types and, especially, the grit (like sandpaper for nails), is key to safe, efficient, and professional results. Let’s break down the essentials.
Core Bit Types:
1. Carbide Bits: The workhorses. Made from tungsten carbide, they are incredibly durable and efficient at removing bulk product (like acrylic or hard gel) and calluses. Their cutting edges (flutes) come in various shapes (cone, cylinder, flame, barrel) for different tasks. They are reusable but require regular cleaning and eventual replacement when dull.
2. Ceramic Bits: Softer and gentler than carbide. Primarily used for refining the surface, removing tiny imperfections, creating smooth transitions, and gentle cuticle work. They generate less heat and friction, making them a safer choice near the natural nail plate and sensitive skin. They are typically single-use for hygiene, as their porous surface can trap debris.
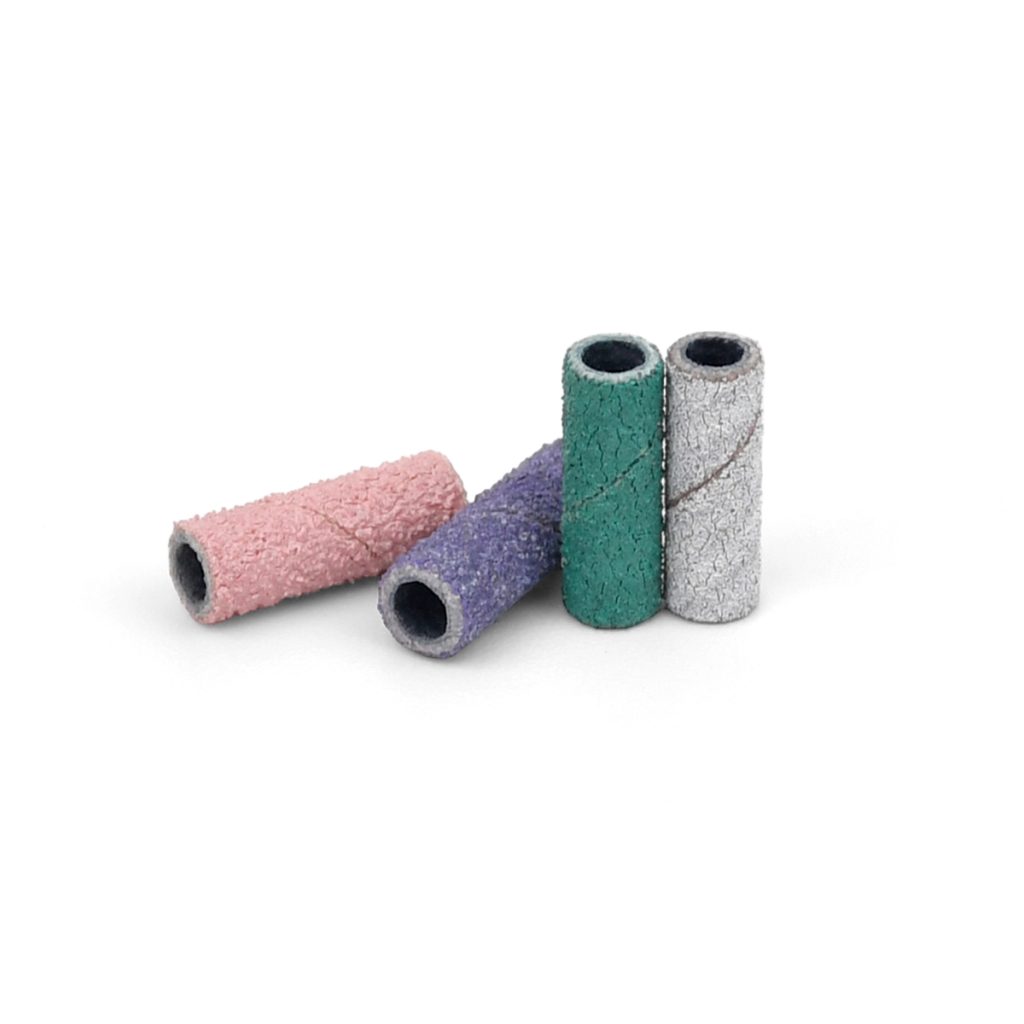
The Grit System: Your Coarseness Guide
Grit refers to the abrasiveness of the bit’s surface, determined by the size of the abrasive particles bonded to it. Think of it like sandpaper:
- Lower Grit Number = Coarser / More Aggressive: Removes material faster but requires more skill and a lighter touch to avoid damage.
- Higher Grit Number = Finer / Gentler: Removes less material per pass, creates a smoother finish, and is safer for delicate work.
Common Grits & Their Superpowers:
1. Grit 100 & 120: The Heavy Lifters
- Nature: Very coarse and aggressive.
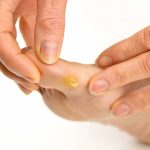
- Best For: Rapid removal of thick acrylic/gel overlays, reducing bulk on sculpted nails, tackling tough calluses on feet. Requires significant experience and control.
- Advantages: Saves immense time on bulk reduction. Powerful for challenging removal jobs.
- Caution: High risk of damaging the natural nail plate, causing grooves (rings of fire), or generating excessive heat if used incorrectly or for too long in one spot. Not for natural nail surface work or near cuticles.
2. Grit 150 & 180: The Versatile All-Rounders
Nature: Medium abrasiveness. The most commonly used grits for general prep and shaping.
Best For:
- 150: Removing thinner product layers, refining shape after bulk removal, smoothing ridges on natural nails (with care), preparing the natural nail plate surface (lightly).
- 180: Final shaping before finishing, smoothing out scratches left by coarser grits, gentle cuticle cleaning, creating smooth apex transitions.
Advantages: Offer an excellent balance of efficiency and control. Versatile enough for many tasks without being overly aggressive. Safer than 100/120 for work closer to the natural nail when used properly.
3. Grit 240: The Fine Finisher
- Nature: Fine and gentle.
- Best For: Final smoothing and refining of the natural nail plate surface before applying any product, creating a super-smooth surface on hard gel or acrylic before buffing/polishing, very light cuticle work, removing the slightest surface imperfections, and gentle buffing. Ideal for sensitive nails and clients.
- Advantages: Minimizes risk of damaging the natural nail. Creates the smoothest possible surface for optimal product adhesion and shine. Excellent for maintenance and delicate work. Generates minimal heat.
Choosing the Right Grit: Key Advantages Summarized
- Efficiency & Speed: Lower grits (100, 120) remove bulk incredibly fast, saving valuable service time.
- Precision & Control: Higher grits (150, 180, 240) allow for meticulous shaping, refining, and working safely near delicate areas.
- Safety & Nail Health: Using finer grits (especially 180 and 240) for surface work significantly reduces the risk of thinning, weakening, or overheating the natural nail plate.
- Superior Finish: Progressing through grits (e.g., 150 for shaping, 180 for refining, 240 for final smoothing) creates a flawlessly smooth surface, leading to better product application, longer-lasting enhancements, and a professional shine.
- Client Comfort: Finer grits generate less vibration and heat, enhancing the client experience, especially on sensitive nails.
Mastering Your Drill:
Remember, the nail bit is only part of the equation. Always:
- Match the bit type and grit to the specific task.
- Use the correct drill speed (lower for coarser bits/higher pressure, higher for finer bits/lighter pressure).
- Employ a feather-light touch – let the bit do the work.
- Keep bits clean, sharp, and sterilized.
- Never hold the bit stationary on the nail; keep it moving.
This knowledge translates to faster, safer, more precise, and ultimately, more professional nail services and stunningly healthy results. Choose wisely, work skillfully!
Read also: Your Pocket Salon: Unveiling the Magic of a Complete Pedicure Set